Air rocket.
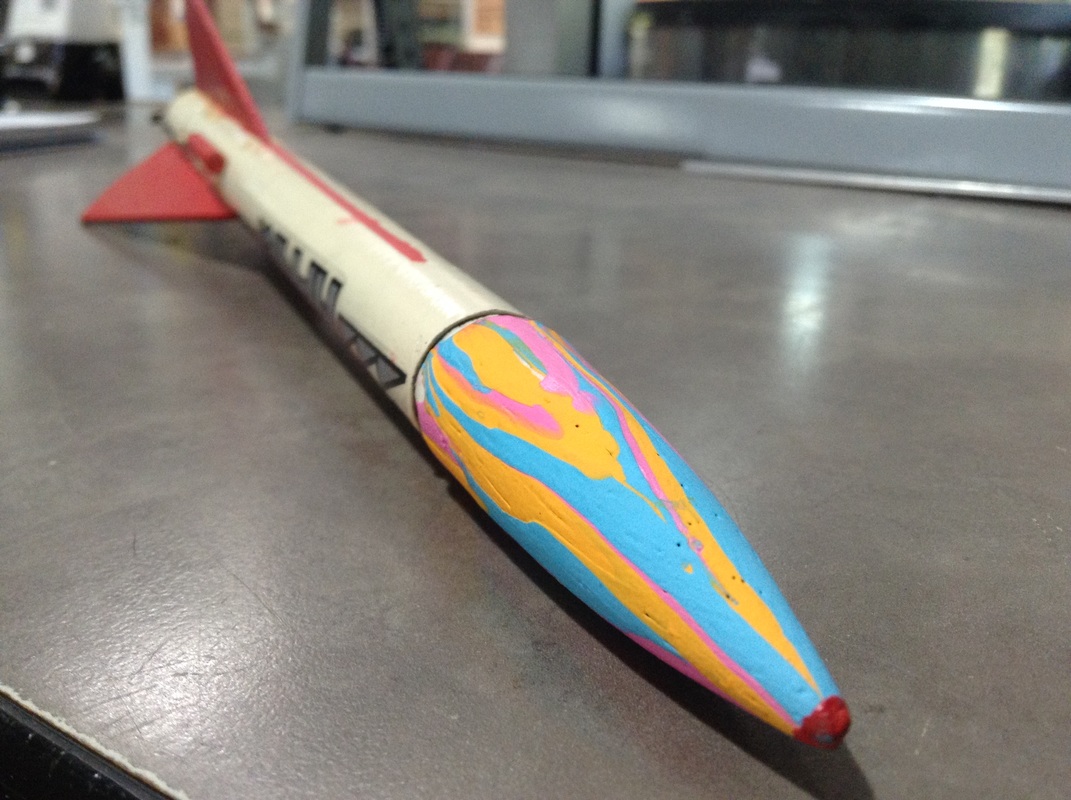
Over the coarse of this next semester we get to choose the path that we want to follow. I chose to follow the rocketry path. Although we get to choose the path we want follow, there are still a set of guidelines we have to follow. The first guideline that we have to follow is creating an Air Rocket. For my Air rocket I decided to take a more subtle approach. I decided to take my time with the rocket and do something no body else would do. I made my rocket weigh an exponentially amount compared everyone else’s.
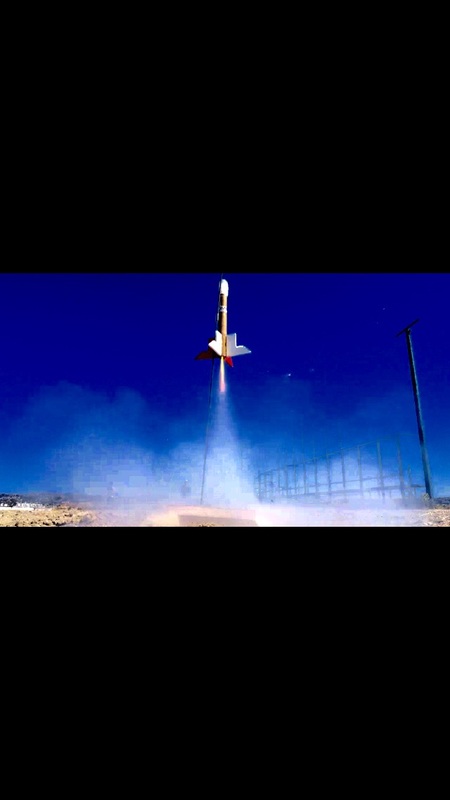
Air rocket launch.
Now it is time to launch my air rocket. When we first brought the air launcher out I was quite intimidated. I was afraid that my rocket was not going to make it to maximum height and preform to the level that I wanted it to. Although I was afraid I knew that even if my rocket did not perform to the level I wanted it to I would have room to improve. Now it is my turn to launch my air rocket. This is when I begin to prep the rocket and make sure that all of the fins are perfectly allied, and cone is perfectly balanced. Then I place the rocket on the air launcher, step back, fill the air tank with air, and launch my rocket. When I hit the launch button I went from actually seeing my rocket to it completely disappearing from my sight. My rocket was not only a success but piece of art as well.
Guid lines for air rocket.
Project timeline: Project Planning -> 1 days, Build -> 3 days
Plan for project: build air rocket, shoot rocket and film air rocket
Materials: Paper, tape, air launcher, cardboard, rubber bands, etc.
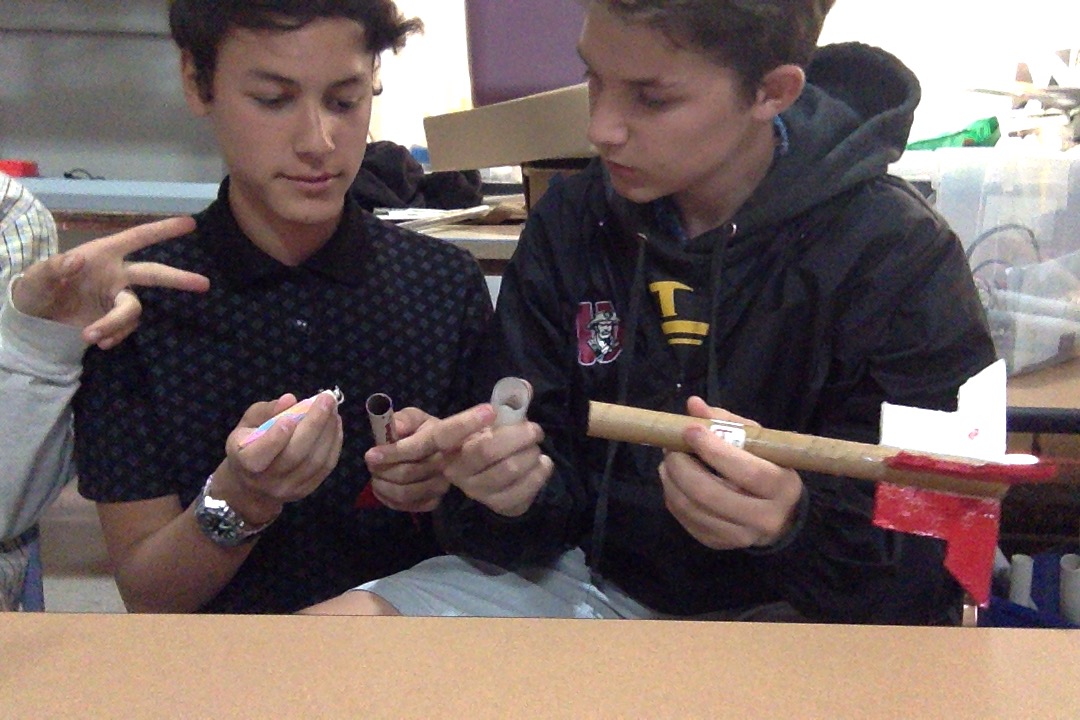
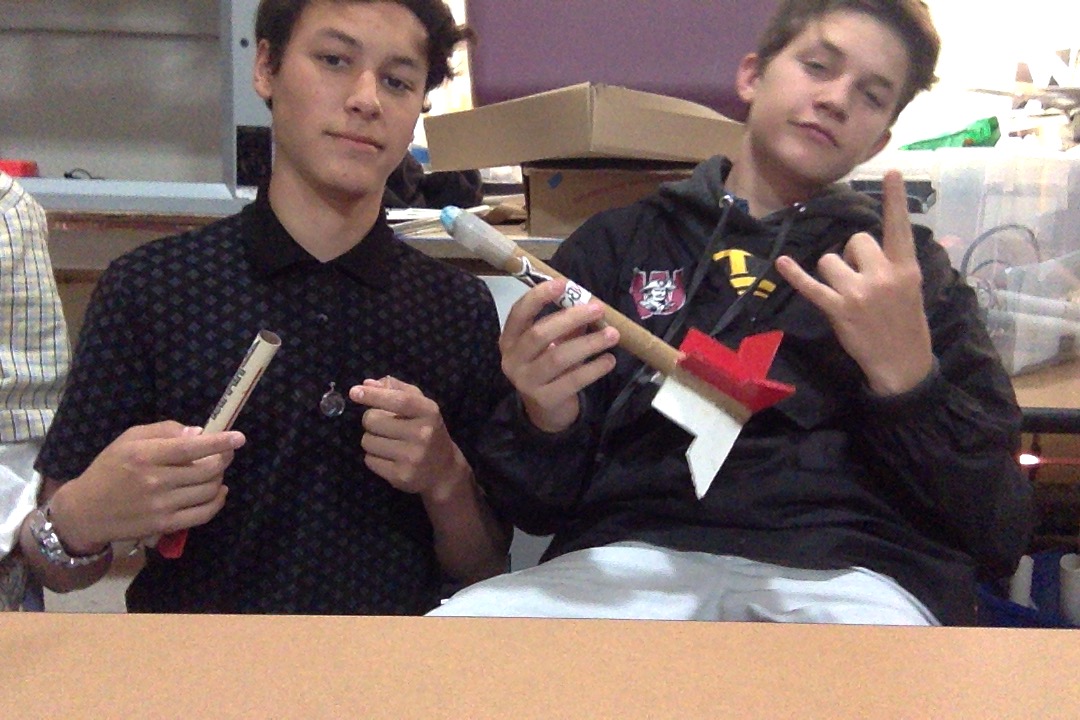
Kit rocket.
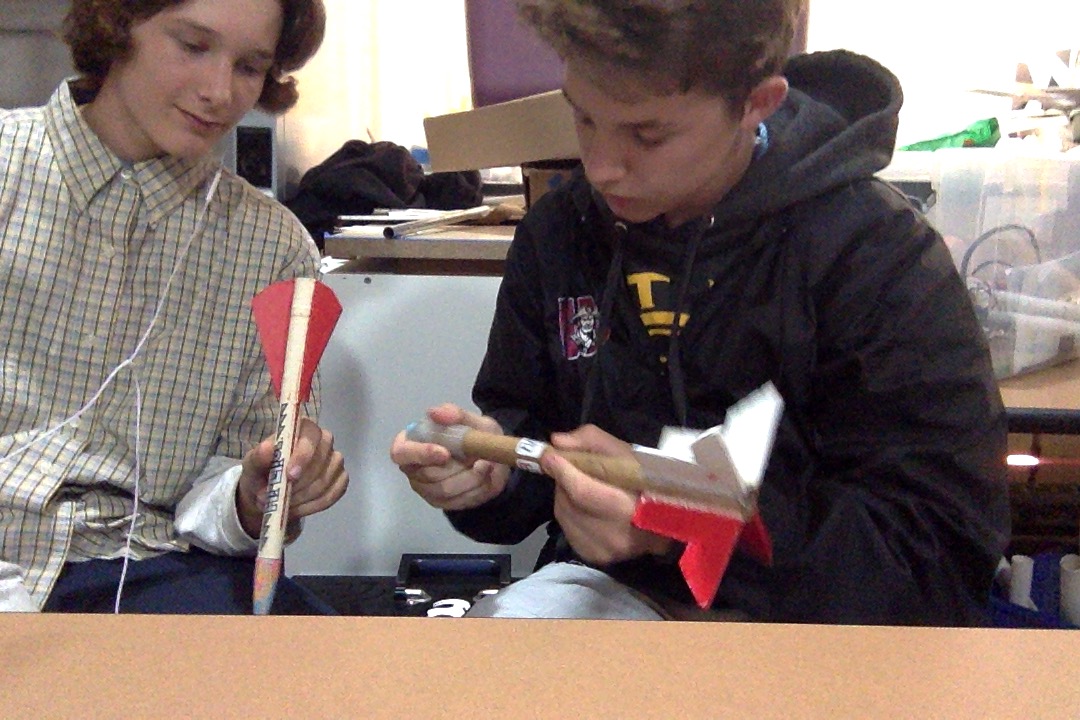
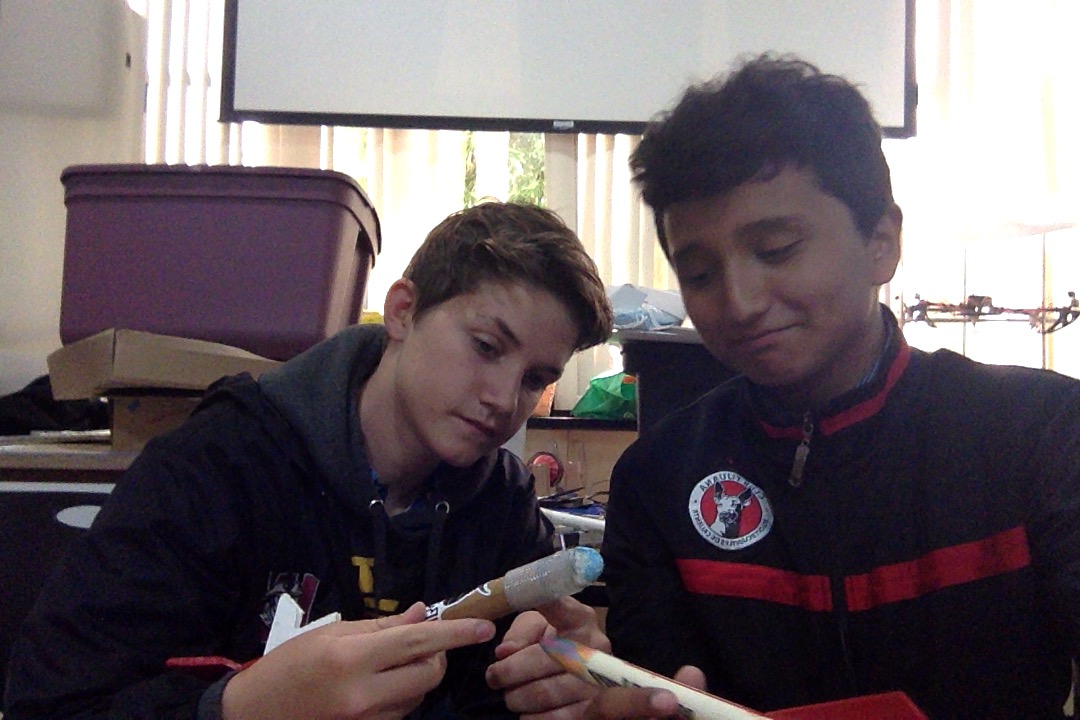
For this section of our rocketry project, we were required to build a kit rocket. For my kit rocket I was partnered with Phillippe. When we were given the kit we immediately got to work. The reason why we immediately got to work was because, we were both anxious to start our kit. My partner and I both enjoy building rockets swell as creating rockets an exponential amount. When we started the rocket we were so anxious to build it, that we were oblivious to every little detail the rockets required. Even though we were oblivious to this factor, somehow we managed, to pull through and create a rocket that we are extremely proud of. In conclusion our rocket is built above our standards, and is waiting to be launched.
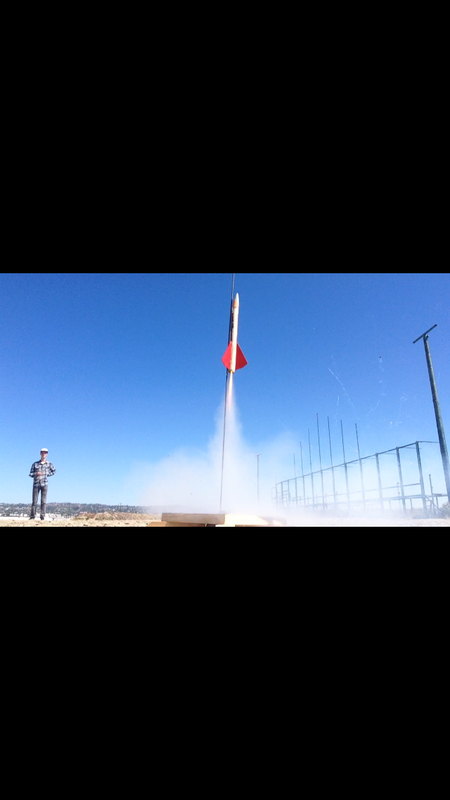
Kit rocket launch
Now it is time to launch my kit rocket. It took me an incredible amount of time to build the kit rocket. Because of this I was afraid that my rocket was not going to make it to maximum height and preform to the level that I wanted it to. Although I was afraid I knew that even if my rocket did not perform to the level I wanted it to I would have room to improve. Now it is my turn to launch my kit rocket. This is when I begin to prep the rocket and make sure that all of the fins are perfectly allied, and cone is perfectly balanced. Then I place the rocket on the launcher, and slide it down the launch rod, this is when I step back, , and launch my rocket. When I hit the launch button I went from actually seeing my rocket to it completely disappearing from my sight. The rocket was a disappointment. It was unable to hold a straight flight. The rocket went up about fifty feet, then begun to spin out of controll. All in all I feel like the rocket could've done a little bit better.
Guide lines for kit rocket.
Project timeline: Project Planning -> 1 days, Build -> 6 days, Launch -> Fiesta Island
Plan for project: buy kit, build kit, do final touches to the kit and launch it
Materials: Just the kit, everything comes with the kit to build it.
Scratch build rocket
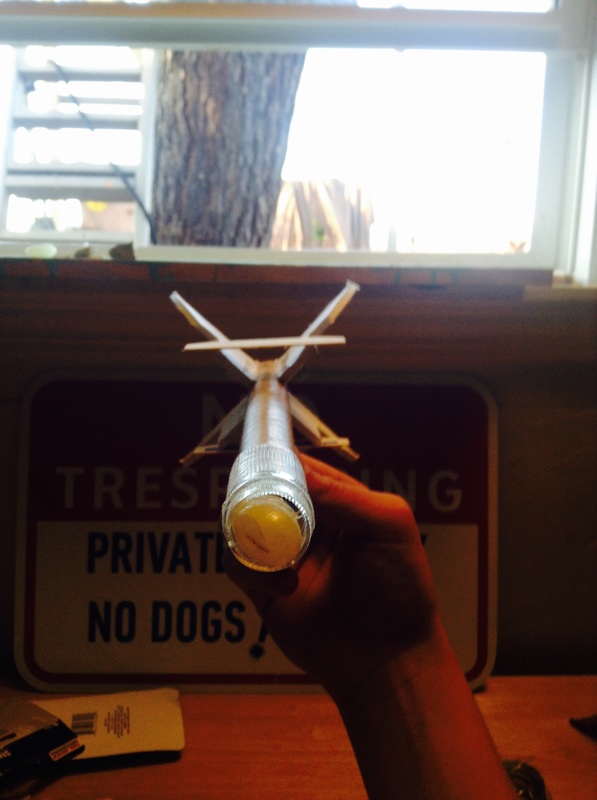
When I begun to engineer my rocket, I had already gave my self a jumpstart. The reason why I had already given my self a jump start is because, before I begun to build my scratch rocket, I spent the time to get familiar with the materials and how they were used. When I officially started my rocket, I begun with making the body of the rocket. I used two inch thick by thirty inch in length brown pieces of paper, and cross wrapped them with wood glue along the pvc pipe mold.I repeated this step three times, and let it sit over night. Now that the wood glue has dried it has bonded all of the pieces of paper together, and I am ready to remove it from the pvc pipe. In order to removing it from the piece pipe I had, to cut both ends of the paper off, releasing it from the pvc. Now I am able to start making the fins and etc. Overall making the rocket was not only enjoyable for me, but an experience I am glad I was able to participate in. In conclusion my scratch built rocket, was a success. Doing above what I was hoping it was going to do.
Guide lines for scratch rocket.
Project timeline: Project Planning -> 3 days, Build -> 3 weeks, Camping trip date -> To be determined
Plan for project: Design Rocket, figure out the best fuel to use “trial and error”, find best ratio for potassium nitrate/sugar engine, build rocket frame, launch rocket, film and camping in the desert to launch?
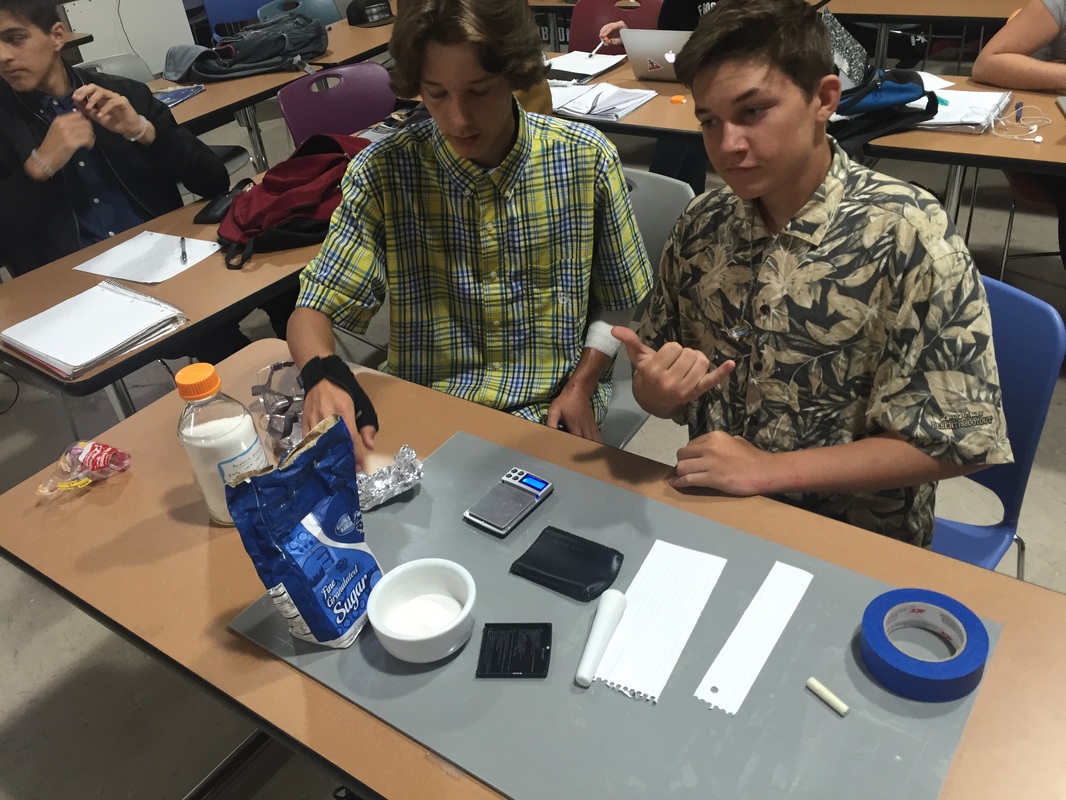
Materials: potassium nitrate, sugar, cardboard, citric acid, etc.
Over the coarse of this next semester we get to choose the path that we want to follow. I chose to follow the rocketry path. Although we get to choose the path we want follow, there are still a set of guidelines we have to follow. The first guideline that we have to follow is creating an Air Rocket. For my Air rocket I decided to take a more subtle approach. I decided to take my time with the rocket and do something no body else would do. I made my rocket weigh an exponentially amount compared everyone else’s.
Air rocket launch.
Now it is time to launch my air rocket. When we first brought the air launcher out I was quite intimidated. I was afraid that my rocket was not going to make it to maximum height and preform to the level that I wanted it to. Although I was afraid I knew that even if my rocket did not perform to the level I wanted it to I would have room to improve. Now it is my turn to launch my air rocket. This is when I begin to prep the rocket and make sure that all of the fins are perfectly allied, and cone is perfectly balanced. Then I place the rocket on the air launcher, step back, fill the air tank with air, and launch my rocket. When I hit the launch button I went from actually seeing my rocket to it completely disappearing from my sight. My rocket was not only a success but piece of art as well.
Guid lines for air rocket.
Project timeline: Project Planning -> 1 days, Build -> 3 days
Plan for project: build air rocket, shoot rocket and film air rocket
Materials: Paper, tape, air launcher, cardboard, rubber bands, etc.
Kit rocket.
For this section of our rocketry project, we were required to build a kit rocket. For my kit rocket I was partnered with Phillippe. When we were given the kit we immediately got to work. The reason why we immediately got to work was because, we were both anxious to start our kit. My partner and I both enjoy building rockets swell as creating rockets an exponential amount. When we started the rocket we were so anxious to build it, that we were oblivious to every little detail the rockets required. Even though we were oblivious to this factor, somehow we managed, to pull through and create a rocket that we are extremely proud of. In conclusion our rocket is built above our standards, and is waiting to be launched.
Kit rocket launch
Now it is time to launch my kit rocket. It took me an incredible amount of time to build the kit rocket. Because of this I was afraid that my rocket was not going to make it to maximum height and preform to the level that I wanted it to. Although I was afraid I knew that even if my rocket did not perform to the level I wanted it to I would have room to improve. Now it is my turn to launch my kit rocket. This is when I begin to prep the rocket and make sure that all of the fins are perfectly allied, and cone is perfectly balanced. Then I place the rocket on the launcher, and slide it down the launch rod, this is when I step back, , and launch my rocket. When I hit the launch button I went from actually seeing my rocket to it completely disappearing from my sight. The rocket was a disappointment. It was unable to hold a straight flight. The rocket went up about fifty feet, then begun to spin out of controll. All in all I feel like the rocket could've done a little bit better.
Guide lines for kit rocket.
Project timeline: Project Planning -> 1 days, Build -> 6 days, Launch -> Fiesta Island
Plan for project: buy kit, build kit, do final touches to the kit and launch it
Materials: Just the kit, everything comes with the kit to build it.
Scratch build rocket
When I begun to engineer my rocket, I had already gave my self a jumpstart. The reason why I had already given my self a jump start is because, before I begun to build my scratch rocket, I spent the time to get familiar with the materials and how they were used. When I officially started my rocket, I begun with making the body of the rocket. I used two inch thick by thirty inch in length brown pieces of paper, and cross wrapped them with wood glue along the pvc pipe mold.I repeated this step three times, and let it sit over night. Now that the wood glue has dried it has bonded all of the pieces of paper together, and I am ready to remove it from the pvc pipe. In order to removing it from the piece pipe I had, to cut both ends of the paper off, releasing it from the pvc. Now I am able to start making the fins and etc. Overall making the rocket was not only enjoyable for me, but an experience I am glad I was able to participate in. In conclusion my scratch built rocket, was a success. Doing above what I was hoping it was going to do.
Guide lines for scratch rocket.
Project timeline: Project Planning -> 3 days, Build -> 3 weeks, Camping trip date -> To be determined
Plan for project: Design Rocket, figure out the best fuel to use “trial and error”, find best ratio for potassium nitrate/sugar engine, build rocket frame, launch rocket, film and camping in the desert to launch?
Materials: potassium nitrate, sugar, cardboard, citric acid, etc.
"Time travel used to be thought of as just science fiction, but Einstein's general theory of relativity allows for the possibility that we could warp space-time so much that you could go off in a rocket and return before you set out" - Stephen hawking


Helping others with rocket
Over the coarse of this semester we get to choose the path that we want to follow. I chose to follow the rocketry path. Although we get to choose the path we want follow, there are still a set of guidelines we have to follow. The first guideline that we have to follow is creating an Air Rocket. For my Air rocket I decided to take a more subtle approach. I decided to take my time with the rocket and do something no body else would do. I made my rocket weigh an exponentially amount compared everyone else’s. The second guideline we have to follow is making and completing a kit rocket. For my kit rocket I plan on taking my time and adding a few adjustments that will make the out come of the rocket better. The third guideline that is required, is making a rocket from scratch. I plan on spending around a month on my kit rocket to make it the best as could be. Once I complete all of these steps I plan on helping out any students that need help with here rockets.
Now that I am complete with my rocket category I plan on helping out any students, that need help. I have acquired, many skill sets that range from making the body of the rockets out of raw material to making perfectly equivalent wings, to perfectly air-o-dynamic complete rockets. One of the ways I have learned to make the rocket perfectly air-o-dynamic is sanding it down with 300 grade sand paper then applying several layers of mode podge. What the sanding does is apply an even layer of paper dust around the body, and when you apply the mode podge, it allows the materials to bond together and level out, creating a leak smooth and perfectly flat surface. Overall I was able to help out a large group of students with there rockets, I was able to help out Avery solsback, Connor partida, Gabe valenswayla, Victor sanches, Nick green, Phillippe de kervor.